


Slow 10 Minute Drills Beat Hourly Practice: Classical Piano Technique

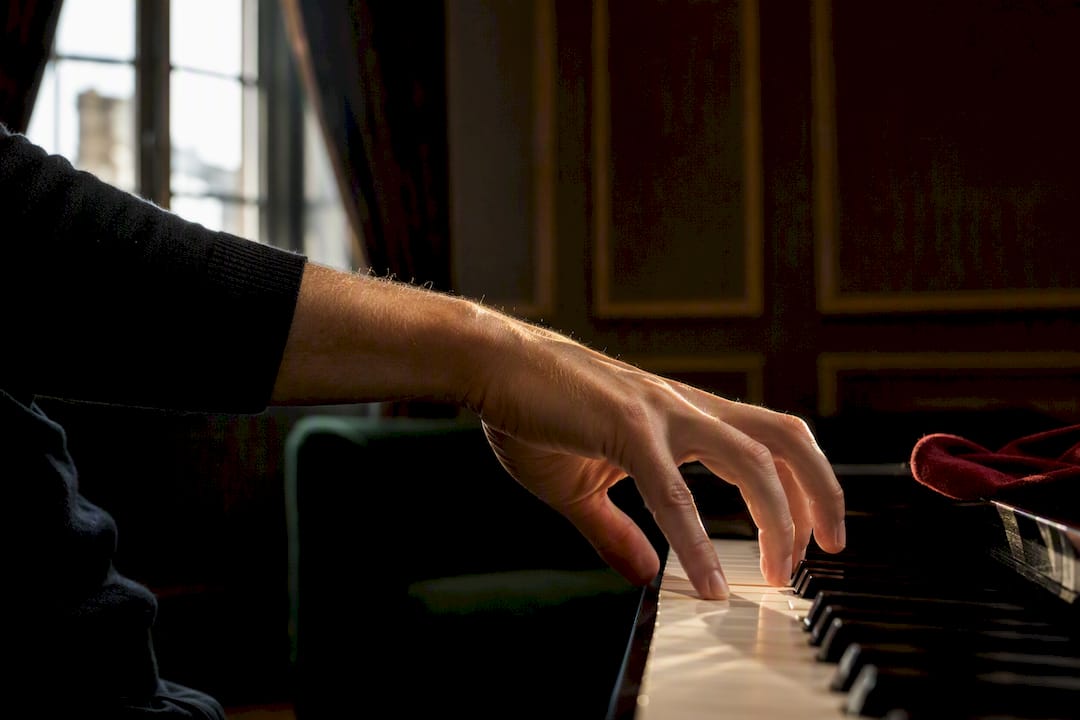
Focus on relaxed weight transfer first, then build it into three core exercises: scales, arpeggios and short, targeted etudes. Pick one of these, practise it with full attention for ten minutes a day, and you’ll notice a measurable shift in evenness and control within a few weeks. Everything else, from posture to pedalling, exists to support that single mechanism.
TL;DR:
Mastering weight transfer, wrist rotation, and finger independence is essential for developing control and evenness in piano playing within a few weeks.
Proper posture with bench height, relaxed shoulders, and foot placement prevents tension that can hinder technique and cause injury over time.
Exercises should vary rhythm, articulation, and tempo, and be integrated into repertoire, not performed through endless repetition of the same pattern.
Regular physical breaks and attention to pain signals are crucial to prevent cumulative strain, especially for common issues like tendinitis or tension headaches.
Applying one core gesture to actual music quickly confirms its usefulness and ensures it serves the musical phrase, rather than focusing solely on mechanical drills.
Table of Contents
What is classical piano technique, and where do you start?
Classical piano technique is the coordinated use of arm weight, wrist motion and finger action to produce a controlled, musical sound at the keyboard. It is not finger gymnastics performed in isolation from music. Tobias Matthay, one of the most influential piano pedagogues of the twentieth century, argued that technique is fundamentally a mental-muscular association_(1947).pdf) rather than a set of finger drills detached from intention. That distinction shapes everything in this guide.
Before any exercise, get the body right. Posture determines whether your arm weight can actually reach the keys or gets trapped in shoulder and forearm tension.
Set bench height so your forearms sit level with the keys, elbows neither lifted nor drooping.
Sit far enough back that your arms can move laterally across the keyboard without leaning your torso.
Rest both feet flat on the floor, with the right foot poised near the sustain pedal for quick, controlled depression.
Correct alignment removes the need for compensatory tension in the neck and shoulders, which is where a lot of avoidable stiffness starts.
Get this wrong and every later exercise inherits the problem.
Arm, wrist and hand mechanics: weight transfer and wrist rotation
Two gestures do most of the work in classical playing: weight-transfer touch and arm-vibration. Weight-transfer touch means letting the arm’s natural weight fall into the key through a relaxed wrist, used for singing legato lines and sustained tone. Arm-vibration is a faster, lighter oscillation from the forearm, useful for repeated notes and rapid passagework where full weight transfer would be too slow.
Rotating wrist legato is worth isolating on its own. Practise slow five-finger patterns with an exaggerated semi-circular wrist motion, feeling the weight roll from one finger to the next rather than being pushed. This technique, detailed in Kjos pedagogical materials on rotating wrist legato, transfers directly into melodic shaping once the exaggeration is dialled back.
Forearm rotation handles a different job: broken octaves and wide intervals, where the hand alternates rapidly between two points. Rotation is what makes passages like Mozart’s “Alla Turca” or many Chopin nocturne accompaniments feel effortless rather than exhausting.
Weight-transfer drill: play a slow five-note descending scale, feeling the arm’s weight “walk” through each finger.
Rotation drill: alternate two notes a sixth apart, rotating from the wrist with no shoulder involvement.
Pro Tip: Practise these gestures away from repertoire first, on a single five-finger pattern, so you can isolate the sensation before applying it to actual music.
Finger technique and the gestures behind touch
The instant of key contact decides the tone you get, far more than how hard you press afterwards. A tense, jabbing attack produces a harsh sound even at low volume; a relaxed, controlled descent produces warmth even at high volume. This is the detail most beginners skip past.
Thumb passage is the recurring headache in scale playing. Practise five-note groups with an exaggerated thumb-under motion, then progressively shrink the exaggeration while keeping the legato line unbroken, a method drawn from Conus’s structured approach to thumb passage. Finger independence, especially between the third, fourth and fifth fingers, responds well to slow trill and double-note work where one finger holds while another repeats.
Touch itself is produced materially, not by intention alone:
Legato: overlapping key descents so one note begins as the previous finishes, weight transferred continuously.
Staccato: a quick release immediately after key contact, often assisted by a small wrist lift.
Portato: a blend of the two, a slight separation with retained weight, common in Romantic repertoire.
For a deeper walk through finger independence drills, this guide on building finger independence covers stepwise progressions worth working through alongside the trill exercises above.
Scales, arpeggios and etudes: exercises that actually transfer
Repetition without variation is where technical practice quietly stalls. Varying rhythm, articulation and tempo in your scales and arpeggios builds control that transfers to real repertoire far faster than playing the same pattern a hundred times at one speed.
Hands separately, slow tempo. Play each scale or arpeggio hands separately at a tempo where every note is even. This exposes weak fingers immediately.
Rhythmic variation. Add dotted rhythms, then swap the dot to the opposite note, forcing different fingers to lead.
Articulation swap. Play the same scale legato, then staccato, then portato, without changing tempo.
Hands together, metronome step-ups. Increase the metronome gradually only once the current tempo is completely clean.
Musical application. Take the technical pattern straight into a phrase from your repertoire that uses the same shape.
For etude choice, resist the pull towards Hanon as a default. Conus organises exercises by specific aim, extensions, thumb passage, trills, wrist drills, which is more useful than blanket repetition. Clementi’s Preludes and Exercises and Burgmüller’s 25 Progressive Studies both target specific gestures (evenness, rotation) while remaining genuinely musical.
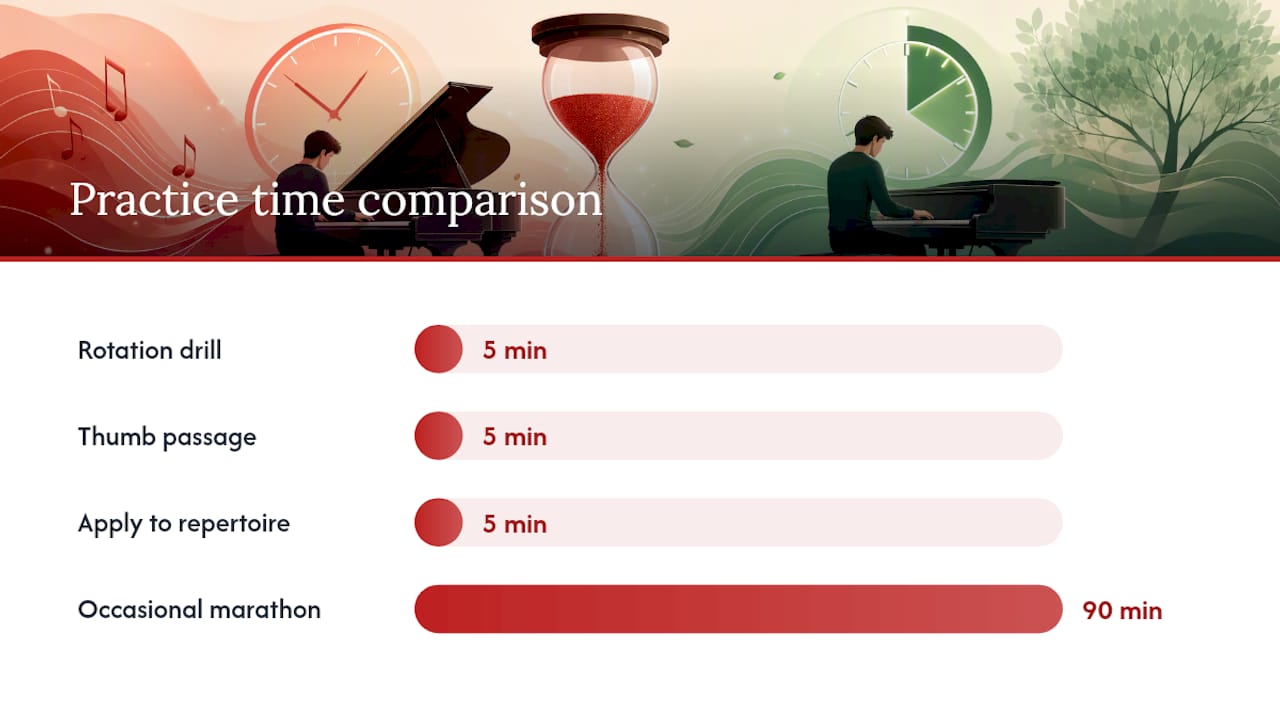
Daily micro-exercises work best in short bursts: five minutes on a rotation drill, five on thumb passage, five applying either to a phrase from current repertoire. That fifteen-minute block, done consistently, outperforms an occasional ninety-minute technical marathon.
Pro Tip: Slow practice isn’t a warm-up you rush through. It is the practice. Speed is what you get afterwards, almost as a side effect.
Structuring practice so progress is measurable
A 20-minute session should be entirely technical: posture check, one weight-transfer drill, one scale or arpeggio with a rhythmic variation. A 45-minute session adds etude work and a slow read-through of new repertoire. A 90-minute session allows for chunking, mental rehearsal away from the keys, and applying the day’s technical focus directly to a performance piece.
Chunking means isolating the four or five notes causing the problem, not the whole line. Mental rehearsal, visualising the finger pattern and sound without playing, solves many technical snags more efficiently than repeated physical attempts, particularly for passages that are more about coordination than strength.
Common faults and fixes:
Persistent tension in a fast passage: practise “active release”, exaggerating the moment your finger lifts off the key immediately after playing, to strip out residual grip.
Speed wall at a fixed tempo: the passage is probably still tense at that speed; drop back ten points and rebuild.
Uneven scale runs: isolate the weakest two fingers and drill them alone before rejoining the full pattern.
Record yourself weekly. It reveals tempo plateaus and tone inconsistencies your ear glosses over in the moment. For a fuller weekly template, see this structured daily practice routine.
What Dan Piano Studio sees in lessons every week
Most technical faults that look complicated in a lesson trace back to one of two things: unresolved tension at the wrist, or a thumb passage nobody ever isolated properly. Dan Piano Studio builds technique work into every classical lesson alongside exam preparation, tailoring drills to whichever gesture is actually causing the problem rather than assigning generic exercises.
A student who has been “practising for years” often just needs the exact moment of release, or the exact rotation, shown once, slowly, and felt rather than explained.
For a longer walk-through pairing these gestures with real repertoire, see this practical guide to classical piano technique.
Injury prevention specific to pianists
Pianists’ injuries almost always come from cumulative strain, not a single dramatic movement. Repetitive strain in the forearm flexors and extensors, tendinitis around the wrist, and tension headaches from a raised shoulder are the three complaints that come up most often in teaching studios.
The root cause is nearly always sustained muscular tension held during playing rather than released between phrases. A wrist locked rigid during octave passages, or shoulders hiked up during a loud passage, load the same tendons for hours across a week of practice. Warming up with slow, weight-transfer movements before tackling anything fast or loud matters more than most players assume; cold tendons under load are exactly how minor strain becomes a real problem.
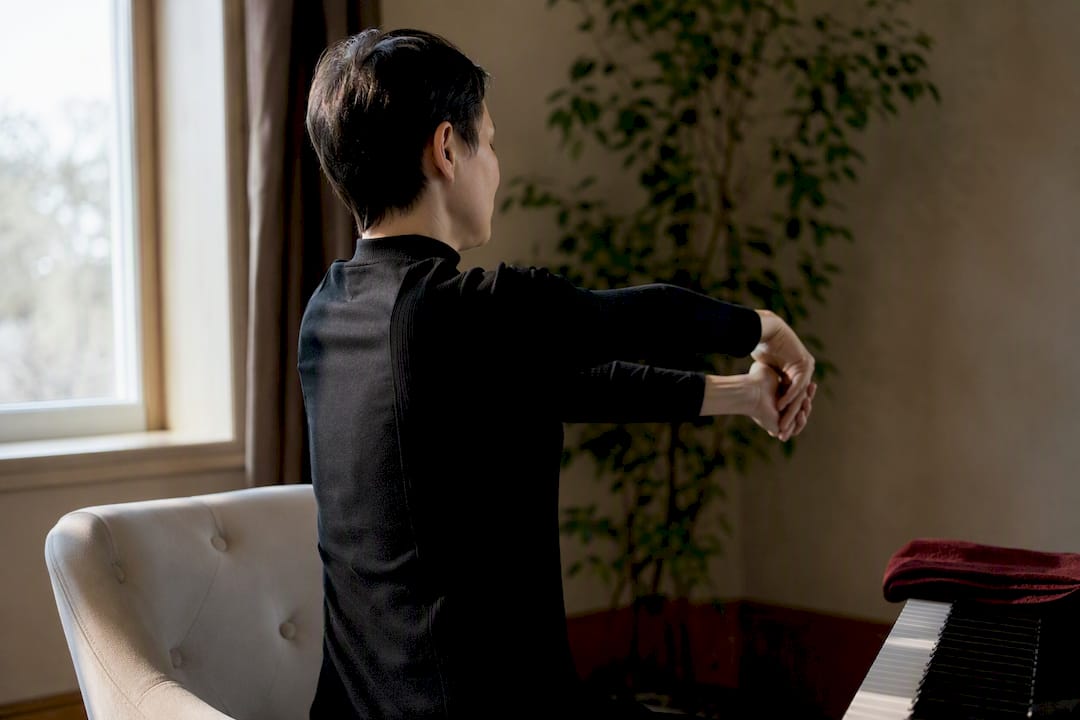
Build in physical breaks. A five-minute pause every twenty-five minutes, with some gentle wrist and shoulder stretching, prevents the kind of cumulative load that turns into tendinitis over a term of heavy practice. Pay particular attention to any sharp, localised pain, distinct from the dull ache of muscular fatigue, and stop immediately if it appears. That kind of pain is a signal, not a training obstacle to push through.
Beginners sometimes assume injury risk only applies to advanced repertoire. It doesn’t. Poor bench height combined with tense, unsupported hand position causes just as much strain in a Grade 2 piece as it does in a Chopin étude, because the mechanism is postural, not repertoire-specific. If pain persists beyond a few days of rest, see a physiotherapist familiar with musicians’ injuries rather than guessing at the cause yourself.
Why technique only matters when it serves the music
Matthay’s central point still holds: the “invisible” side of technique, the mental intention behind a phrase, is what the “visible” finger and wrist movement exists to serve. A perfect rotation drill means nothing if it never gets applied to an actual phrase you’re trying to shape.
Pick one gesture from this guide today, weight transfer, rotation, active release, and apply it to four bars of something you’re currently learning. That’s the real test. If you want the process guided rather than self-taught, a lesson will get you there faster than trial and error alone.
— Dan
Book technical guidance with Dan Piano Studio
Private piano lessons provide a direct alternative to working through technique alone from books and video guides. Every lesson pairs the exercises covered above, weight transfer, rotation, thumb passage, directly with the repertoire you’re already learning, so the drill and the music develop together rather than as separate tracks.
A first assessment lesson identifies exactly which of the faults above, tension, uneven thumb passage, a locked wrist, is holding your playing back, then builds a short-term plan around it. Lessons run in person at the Central London studio or via the online lesson option for anyone outside easy travelling distance, and both cover classical technique, exam preparation, and repertoire work for children and adults alike. If you’re not sure where to start, or you’re returning to piano as an adult beginner, families weighing up timing often find guides like this one on age and readiness useful before booking. Get in touch through Dan Piano Studio to book an assessment lesson and get a clear plan for your technique.
Sources
FAQ
What is the 80/20 rule in piano practice?
It means roughly 80% of the difficulty in a piece usually sits in about 20% of the bars, so isolating and drilling those specific bars produces faster progress than repeatedly playing the piece start to finish.
Which is harder, jazz or classical piano?
Classical technique demands more precision in touch, tone control and repeatable accuracy from a fixed score, while jazz demands stronger improvisational and harmonic skills; neither is objectively harder, they simply train different muscles.
What is Chopin’s technique known for?
Chopin’s approach relied heavily on flexible wrist rotation, subtle weight transfer and a singing legato tone, using the whole arm rather than isolated finger strength, which is why rotating wrist drills transfer so directly into his nocturnes and études.
What is considered the hardest piano technique?
Rapid, evenly voiced octave and chord passages combined with sustained legato, as found in advanced Chopin and Liszt repertoire, are widely considered among the most demanding because they require strength, relaxation and precision simultaneously rather than any one skill alone.
Recommended



Comments